


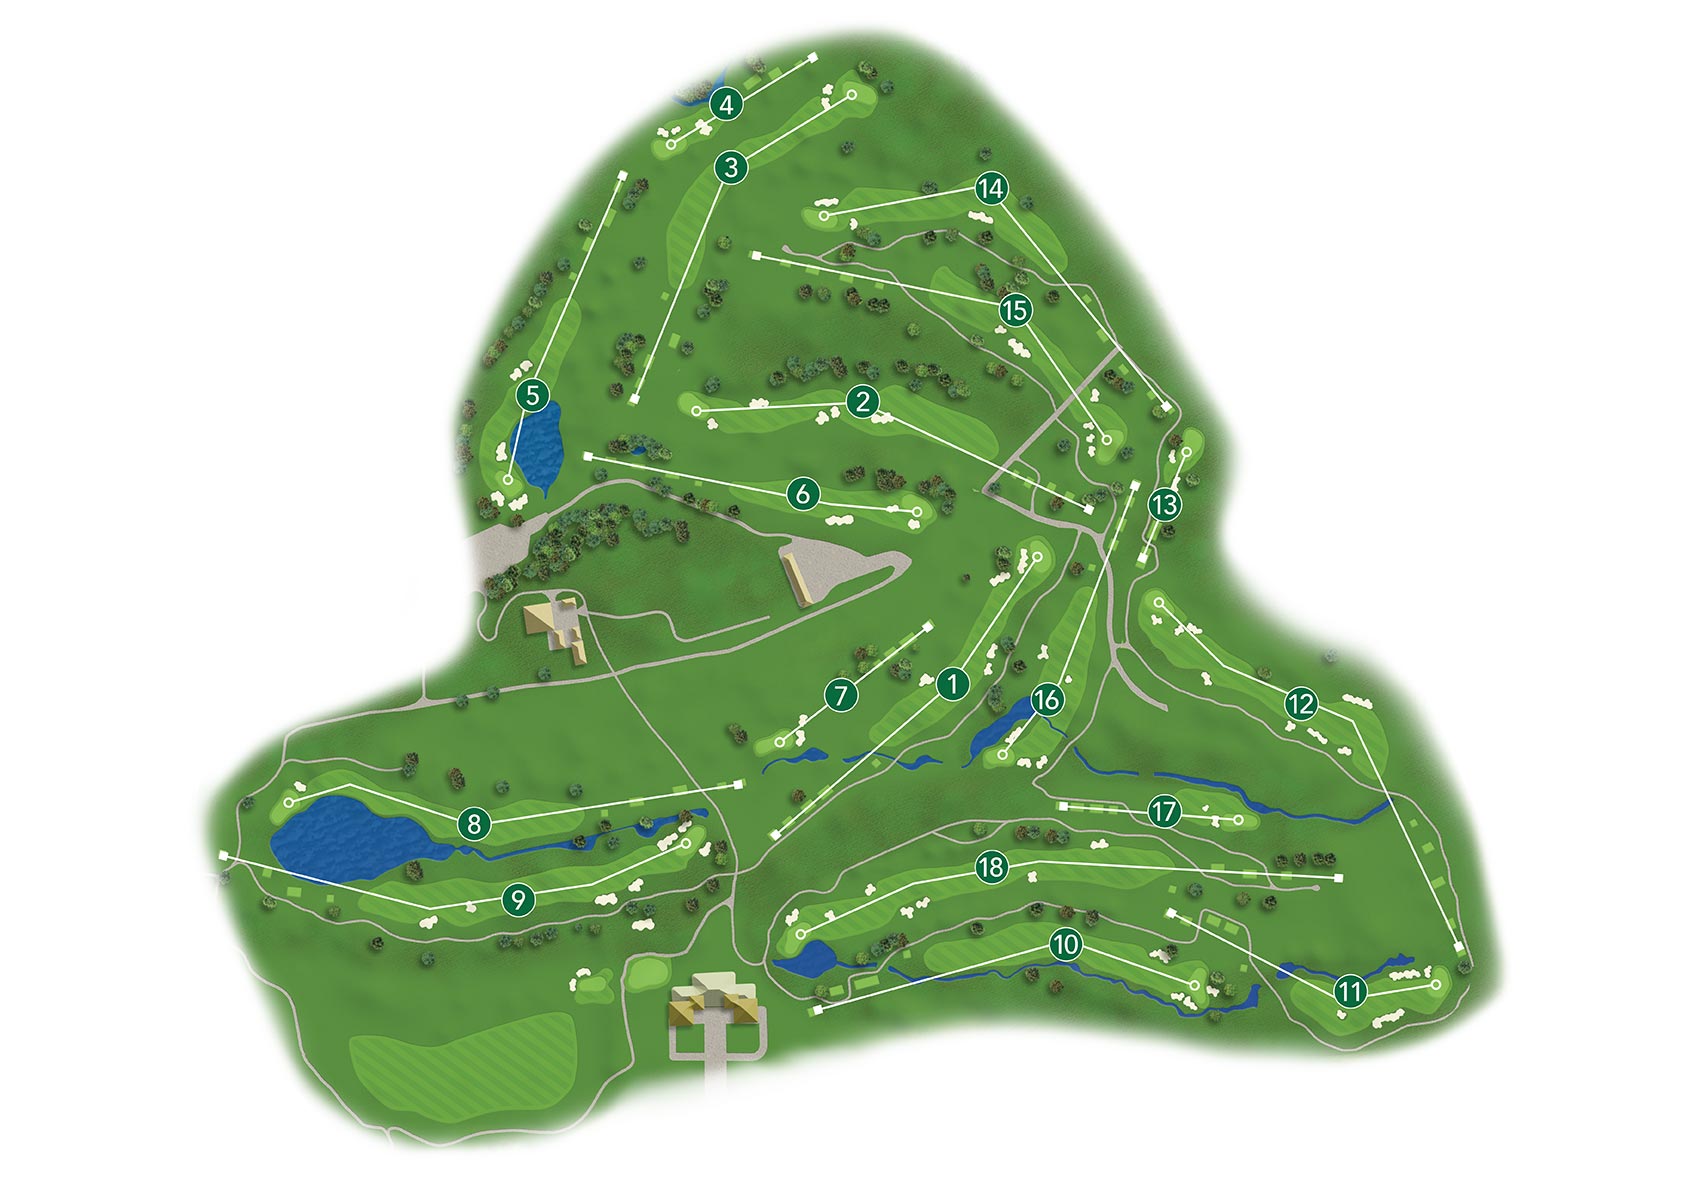
With thick rough, a smattering of water, plenty of risk-and-reward options, and tricky greens, Marco Simone Golf & Country Club’s 7,291-yard course is set to provide the perfect setting for thrilling match play golf.
1 Par 4, 445 yards
This mid-length, slight dogleg, which gently rises from tee to green, provides a surprisingly soft opener by modern Ryder Cup standards, despite most players probably feeling a tad tense. The longer the drive, the narrower the landing area, and there’s bunker on the angle of the dogleg for anything missed slightly right, while a long and deep bunker front left guards the raised green.
2 Par 4, 495 yards
This lengthy, downhill two-shotter features a new back tee which significantly ramps up the challenge. The fairway is split by a large bunker bang in the middle, forcing players to choose sides. The right offers the largest landing area, while the left offers the best line into a long, straight green which is protected by a single bunker front left. The tee on this hole could be moved on some days to change the challenge.
3 Par 4, 453 yards
Big hitters will try to cut the right corner of the dogleg on this semi-blind, left-to-right par four in order to reach the green with a shorter iron. The landing area narrows around the 280-yard mark, while an uphill second shot is required to a green which is well protected on the front-left side by two bunkers.
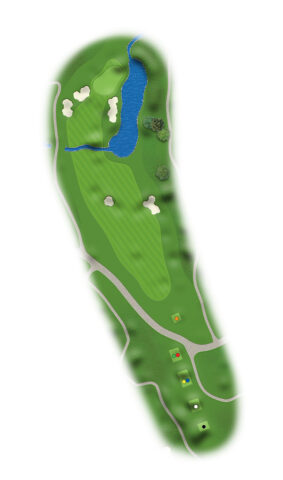
4 Par 3, 188 yards
This mid-length short hole begins the start of an easier stretch of holes, although players will need to be wary of a pair of bunkers front right that protect what is a very narrow and undulating green which features a severe run-off at the back for anything hit long.
5 Par 4, 376 yards
This short par four is the first hole on the course to feature water, with the left side of the fairway featuring a pond which extends all the way to the left front of the green. A forward tee presents the opportunity to make this a driveable par four, with two back bunkers ready to gobble up a flyer, while most players will take the safer bet of an iron or hybrid over the right-hand bunker and a short iron into the back-to-front sloping green.
6 Par 4, 381 yards
Another mid-length two-shotter, but this one plays uphill to a raised green that features bunkers front and right. A back pin will be semi-blind shot, depending on where the player in on the fairway, introducing an element of doubt, while a false front to the green will ensure that only pin-point approaches will remain on the putting surface.
7 Par 3, 222 yards
The longest of the short holes, the seventh is played from an elevated tee and drops down to a kidney-shaped, three-tiered green that falls away front to back and slopes slightly to the right. The pin position is key, with a flag at the back the green presenting a small landing area, while two bunkers front left will catch anything under hit.
8 Par 4, 525 yards
This devilishly long par 4 – it’s a par 5 for members – proved the toughest on the course when the Italian Open was held here in May, with the field averaging 4.58 over the four days. The fairway narrows considerably at the landing area from the tee – it is only 28 yards at its narrowest – but it’s the second shot that poses the most difficulty, with a 200-plus yard approach to an undulating green that features water left and a bunker front right.

9 Par 5, 587 yards
The back nine finishes with the first of the course’s three par 5s, although this one is reachable in two with a decent drive that avoids the two bunkers on the right side of the fairway. The long green, which is one of the flattest on the course, is heavily guarded, with two bunkers left and another back right, with the safest bailout area being short right. A stream runs alongside the left side of the hole but shouldn’t be in play unless you’re very offline.
10 Par 4, 453 yards
While the stream at the ninth is more decorative, the one that feeds down the right side of 10 is very much in play on this left-to-right uphill dogleg. With a demanding tee shot to a narrow landing area, and a second shot to an elevated green that is heavily protected by sand and a false front, a par here could be good enough to win the hole.
11 Par 4, 329 yards
A genuinely driveable par 4, this is a great match play hole, giving players options. Right-handers can sling a draw in here but will need to avoid long bunkers left and right short of the green, and a deep swale to the right. For those who prefer to lay up, the second shot will still require to judge their uphill approach perfectly to avoid spinning back off the green.
12 Par 5, 545 yards
The easiest hole on the course occupies the highest point on the property, this right-to-left dogleg asks players to decide how much to bite off and avoid the three bunkers that guard the elbow on the left side, while there’s another on the right. Any drive that finds the fairway will be faced with an uphill approach to a green that slopes from back to front and is protected by two bunkers front and another to the left.
13 Par 3, 149 yards
A picturesque short hole framed by two pines trees and an old farmhouse behind, this 13thwill prove lucky for those who avoid the bunker front left and find the putting surface with little more than a 9-iron in hand. A back-left pin will make it more difficult, but not many pars will win the hole here.
14 Par 4, 508 yards
Most players will try to fly the bunker on the left corner of this long, right-to-left dogleg and then play a second shot downhill with a mid-iron into the green. Those safer option is down the right side of the fairway, which will leave a longer second shot that brings in the deep bunkers short left and to the right of the green into play, while run off short right will divert anything that doesn’t quite get up.
15 Par 4, 479 yards
This long, downhill par four sweeps left-to-right and presents a tough tee shot, with two deep bunkers guarding the right side of a very narrow landing area, while up at the green sees three more bunkers protecting the front right of the elevated green which features a tier down the middle, front to back, offering up the potential for some testing pin locations.
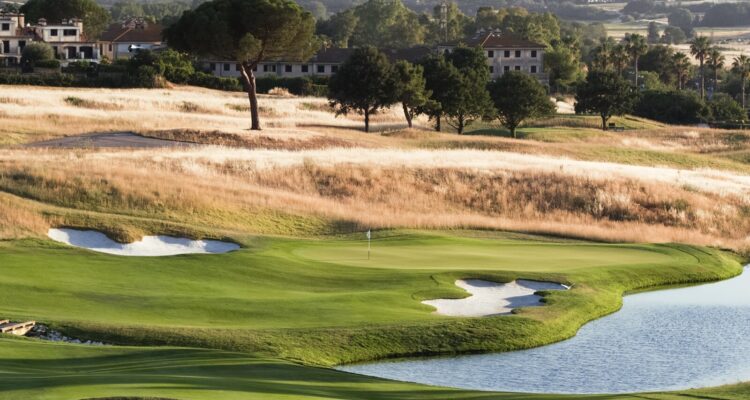
16 Par 4, 322 yards
A classic Ryder Cup risk-reward hole, this short downhill par 4 – which will surely be played from variety of different tees from day to day – is reachable with the driver, but a large pond that feeds in from the right at the end of the fairway all the way to the edge of the green will catch anything hit right. Depending on the pin position, the safe option is an iron down the middle – being careful to avoid the central bunker at around 200 yards – and a flick on with a wedge to an angled green with the hope off setting up a birdie.
17 Par 3, 206 yards
The final par 3 will play a variety of lengths over the course of the week, with the deep and narrow green allowing for a 30-yard variation. Two bunkers protect the front of the putting surface, while a steep run-off on the left feeds into to a stream that cuts into the green back left. The right-hand side features deep rough.
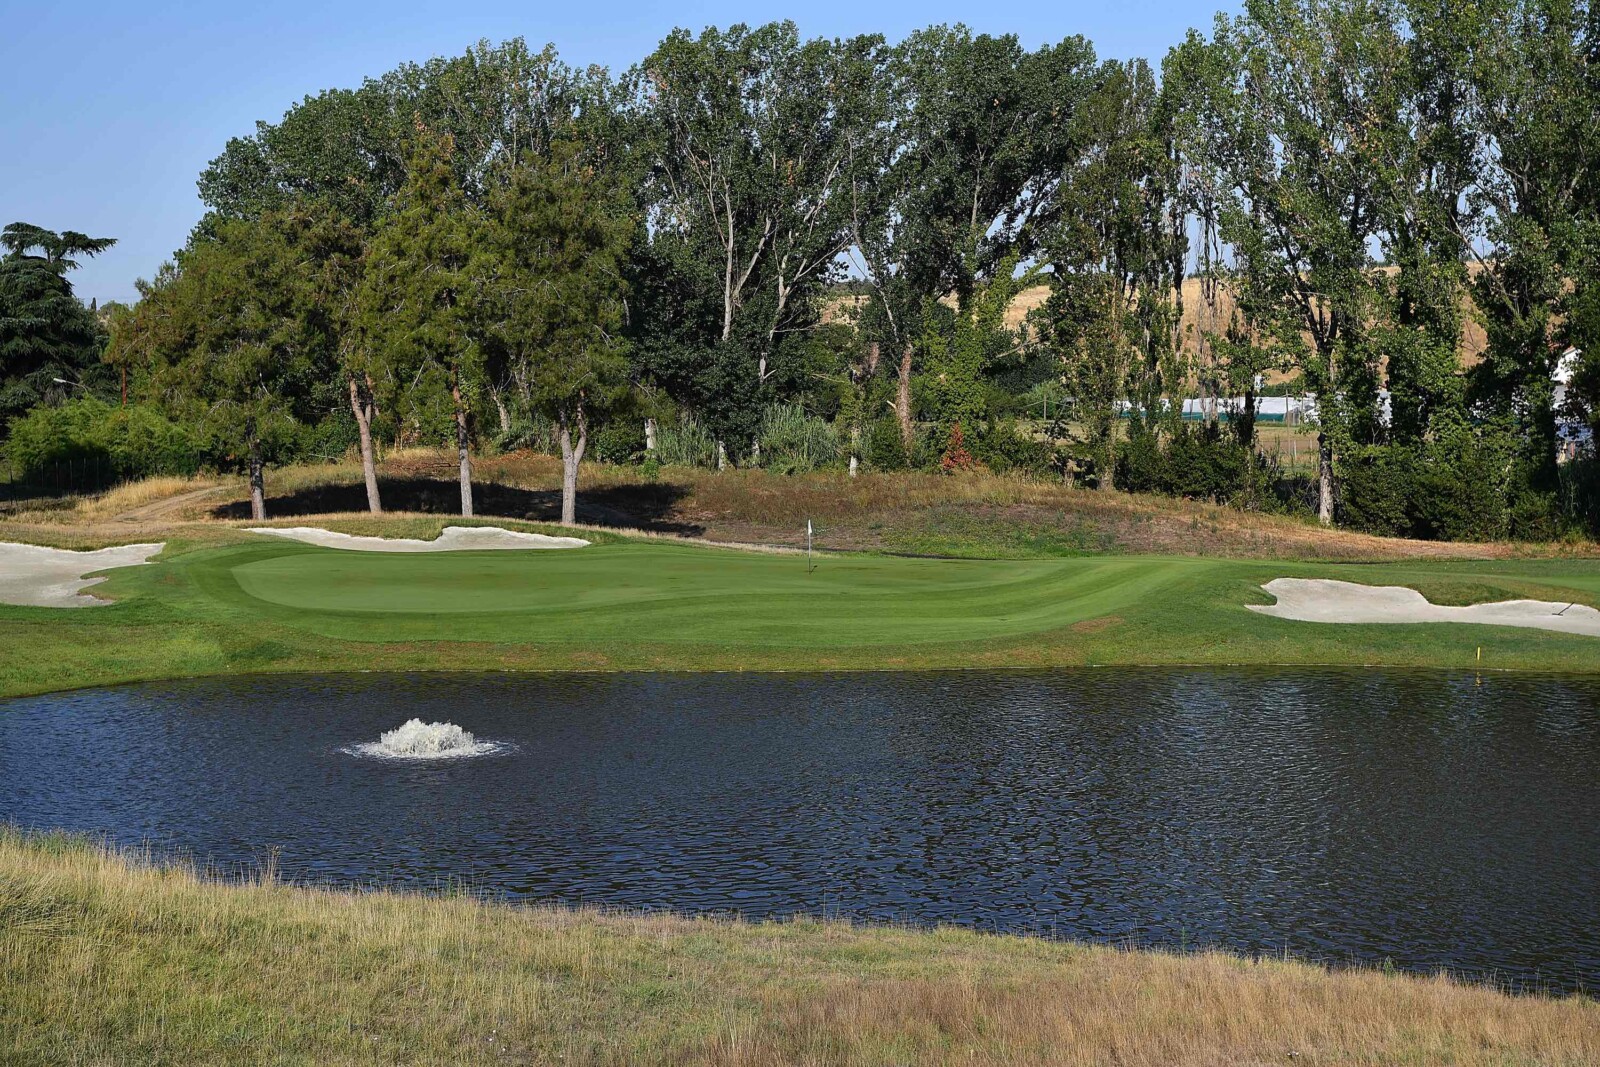
18 Par 5, 628 yards
For any matches that go the distance, the 18th provides a suitably demanding and dramatic finish, with this downhill par five offering the potential for a closing eagle or birdie to turn around your fortunes or seal the deal. Bunkers line both sides of the fairway for anything hit offline, while the downhill approach to the green is guarded by a pond to the left and a green that slopes to the water.
7,291 yards, Par 72